Discovering a water leak in your home can be stressful. Knowing how to dry out walls after a water leak is crucial to prevent further damage. Whether it's a burst pipe or a small leak, acting quickly is essential. The first 24 to 48 hours are critical in reducing moisture levels and preventing conditions conducive to mold growth.
While there are steps homeowners can take themselves, understanding when to involve professionals is equally important. Independent restoration professionals use advanced equipment and techniques to ensure walls and cavities are thoroughly dried. This guide will help you navigate the process effectively.
First 24 hours: what to do yourself
In the immediate aftermath of a water leak, there are several steps homeowners can take to mitigate damage. Acting quickly helps reduce the conditions that allow mold growth and structural issues. Begin by assessing the severity of the leak. If water is actively flowing, finding and stopping the source is your top priority. This could mean turning off the main water supply to halt further damage. If you can identify the leak source, such as a broken pipe or faulty appliance, take action to stop it immediately.
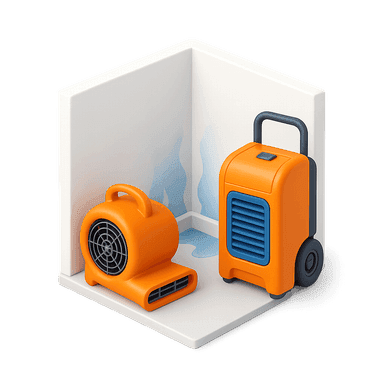
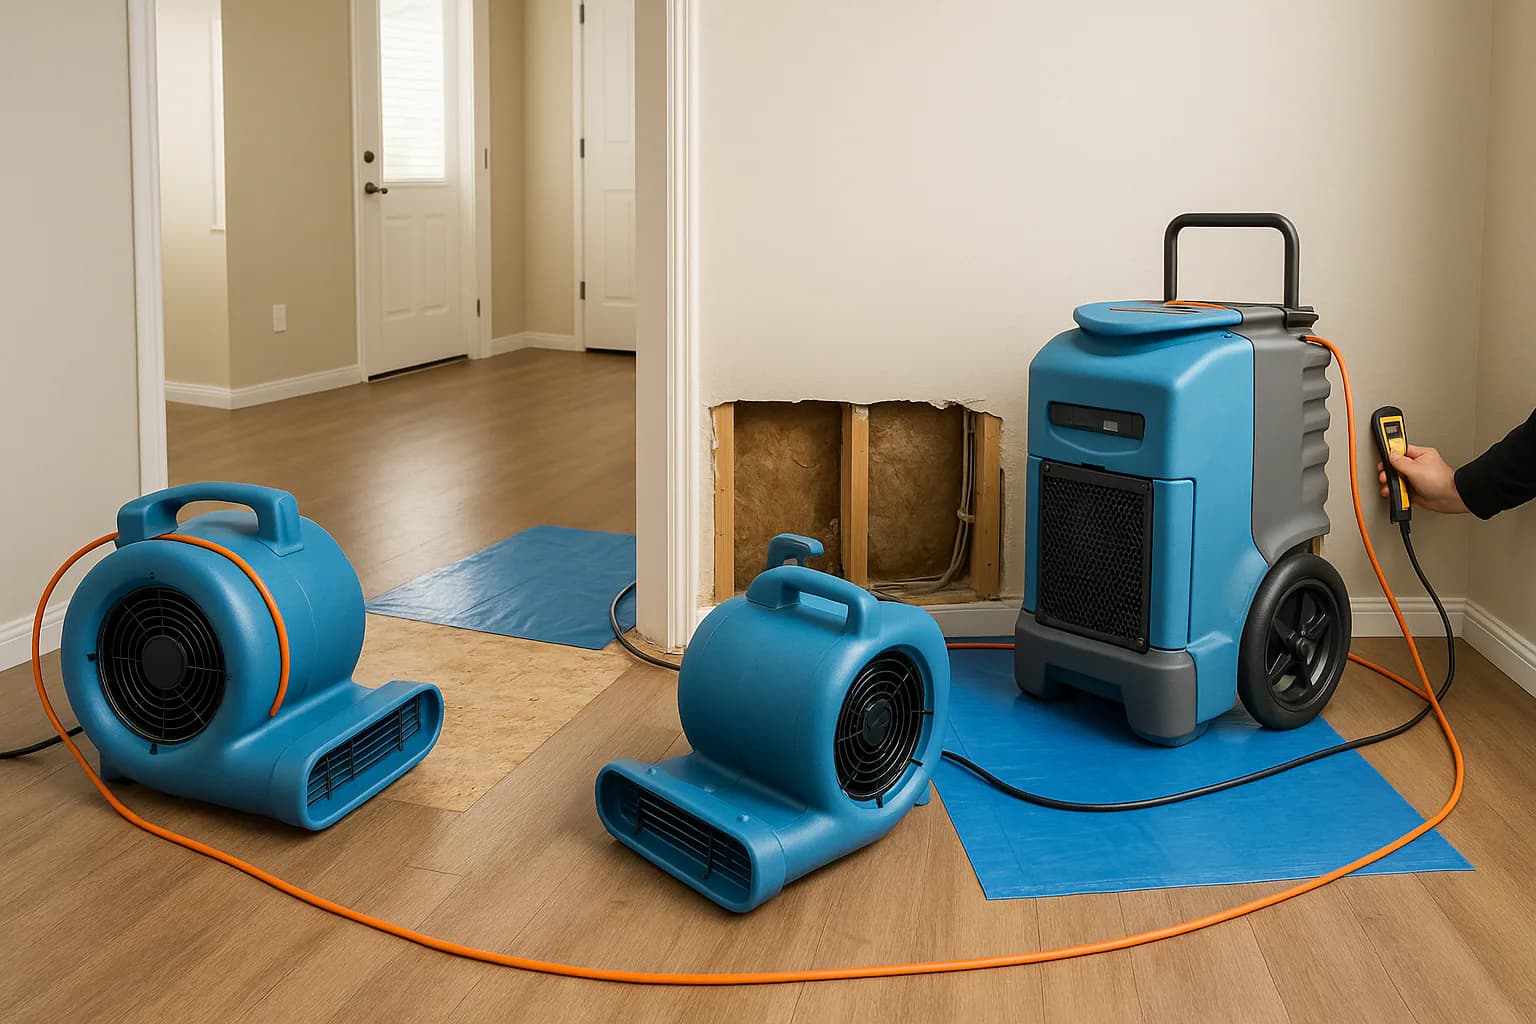
Next, removing baseboards around the wet area is a practical step. This exposes the lower wall section and allows air to circulate behind surfaces that normally trap moisture. Removing baseboards also helps spot water damage that may not be visible otherwise. Creating good airflow with fans and opening windows where possible supports evaporation. Using a dehumidifier nearby further reduces moisture in the air. Throughout this process, homeowners should monitor the area regularly to ensure no new leaks appear and drying is progressing.
- 1
Stop the Water Source
Locate and stop the source of the leak. Turn off the main water supply if necessary. This prevents additional water from entering your home and causing further damage.
- 2
Remove Baseboards
Carefully remove baseboards to expose the lower wall area. This helps with ventilation. Removing baseboards gives you a better view of the damage and allows air to reach trapped moisture.
- 3
Create Airflow
Use fans to increase airflow around the wet area. Open windows if weather permits. This helps to evaporate moisture from surfaces more quickly.
- 4
Use a Dehumidifier
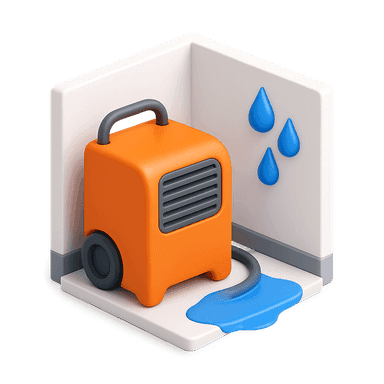
Place a dehumidifier near the affected area to reduce moisture levels. Dehumidifiers draw excess moisture out of the air, aiding the drying process.
- 5
Monitor Progress
Keep an eye on the drying process. Ensure no new leaks occur. Regular checks help ensure that the problem is contained and that the drying process is effective.
Why walls that feel dry often are not
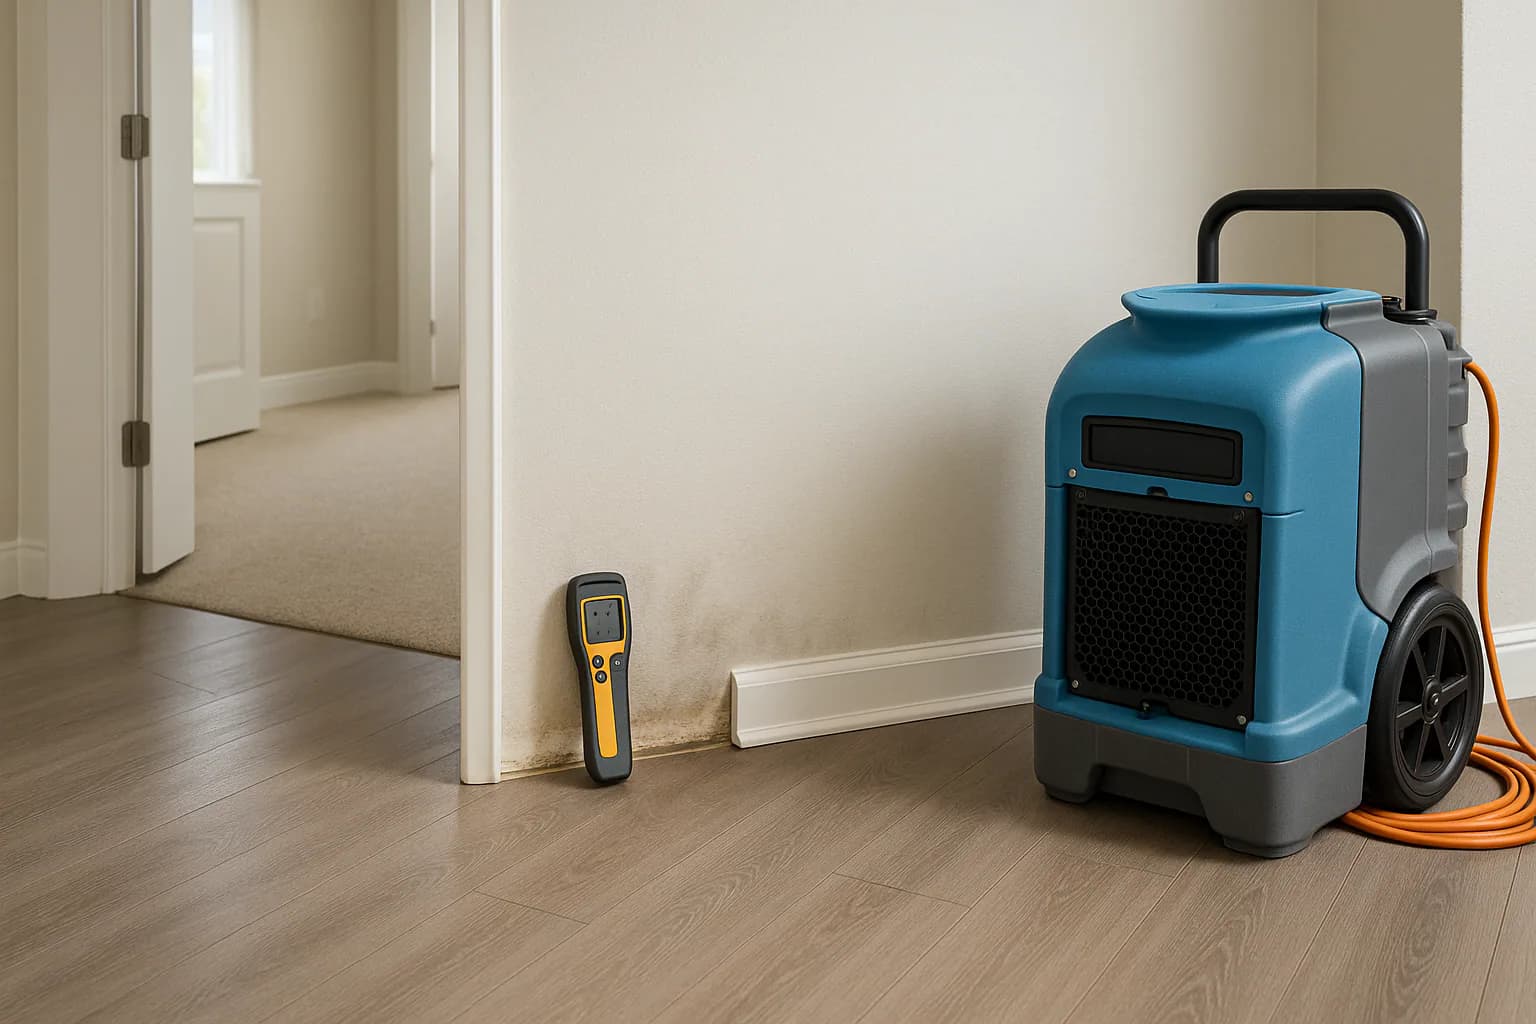
Walls may feel dry to the touch, but moisture can remain trapped in wall cavities. Drywall and paint can mask the true moisture levels, leading to hidden damage and mold risk. It's essential to ensure the entire wall structure is dry, not just the surface. This hidden moisture is a common issue, as drywall is porous and can absorb significant amounts of water, allowing it to linger in the wall cavities.
Homeowners often mistake a dry surface for a fully dried wall. However, the cavity inside the wall can stay damp for days or weeks if not properly dried. Since mold can begin growing within 24 to 48 hours on wet materials, this hidden moisture poses a significant risk. Paint and drywall may feel dry quickly, but without specialized drying and verification, trapped moisture can cause ongoing damage. This is why professional moisture detection and drying methods are important to fully resolve water damage.
According to the EPA, wet materials should be dried within 24–48 hours to reduce mold growth risk.
How pros dry wall cavities
Professional restoration involves specialized equipment to thoroughly dry wall cavities. Techniques like cavity drying and injectidry systems are used to extract moisture from within the walls. These methods ensure even hidden areas are addressed. Cavity drying involves directing warm, dry air into the wall cavities to speed up evaporation, which cannot typically be achieved by surface airflow alone.
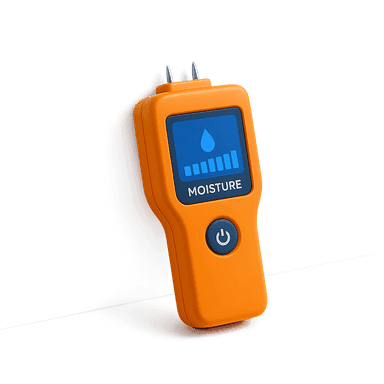
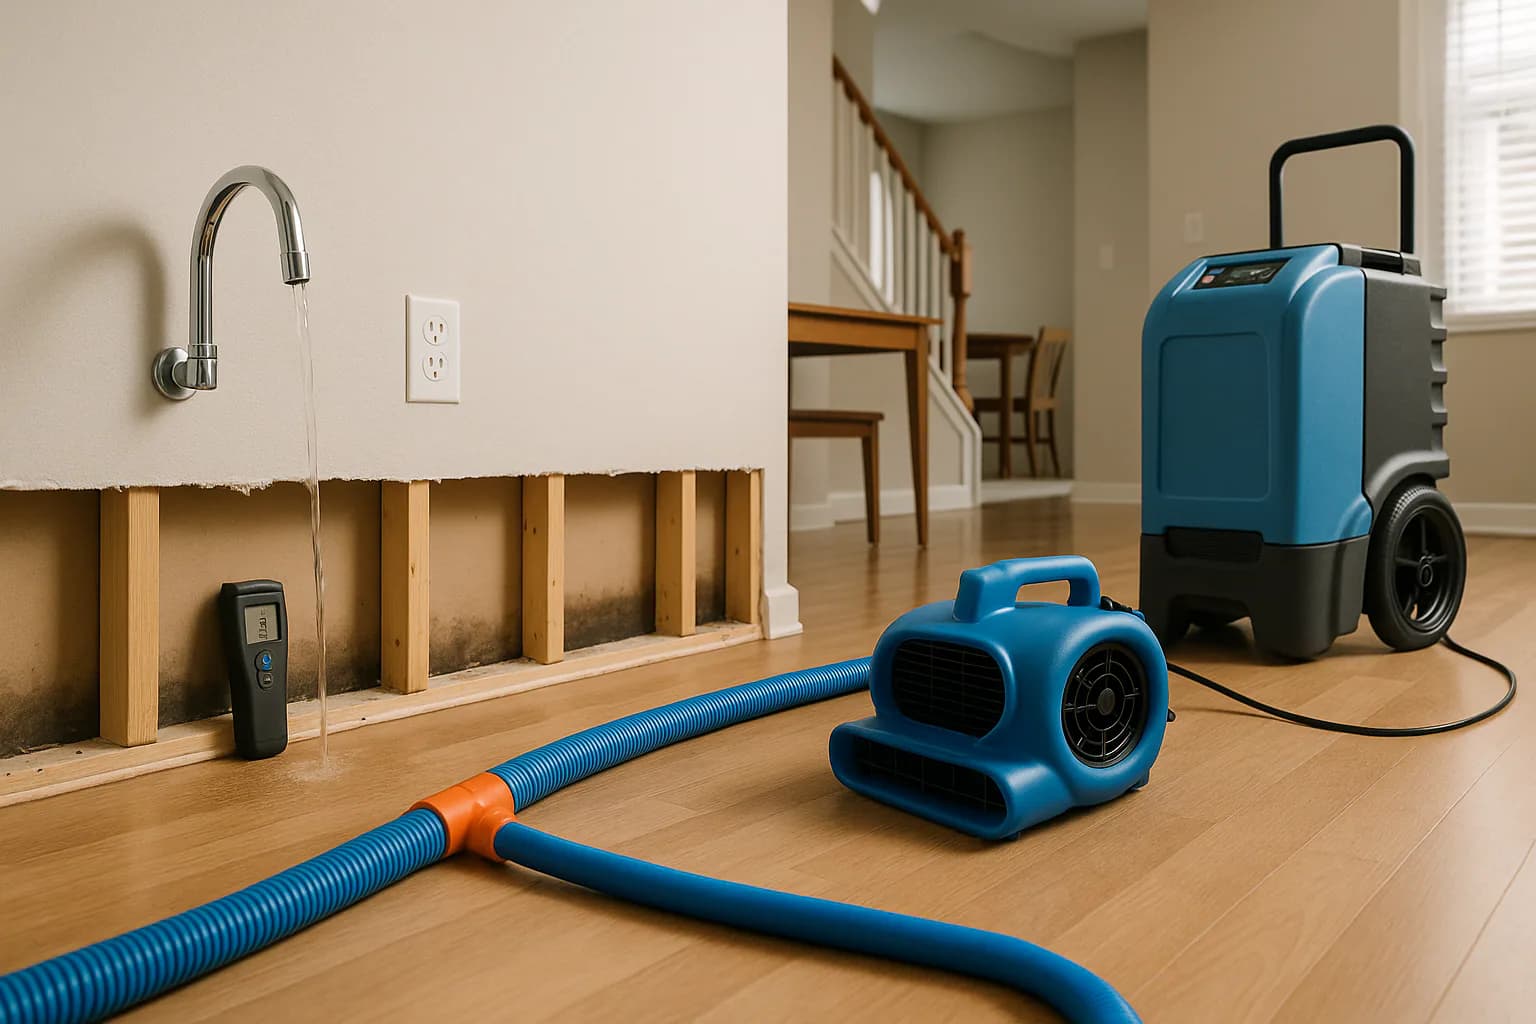
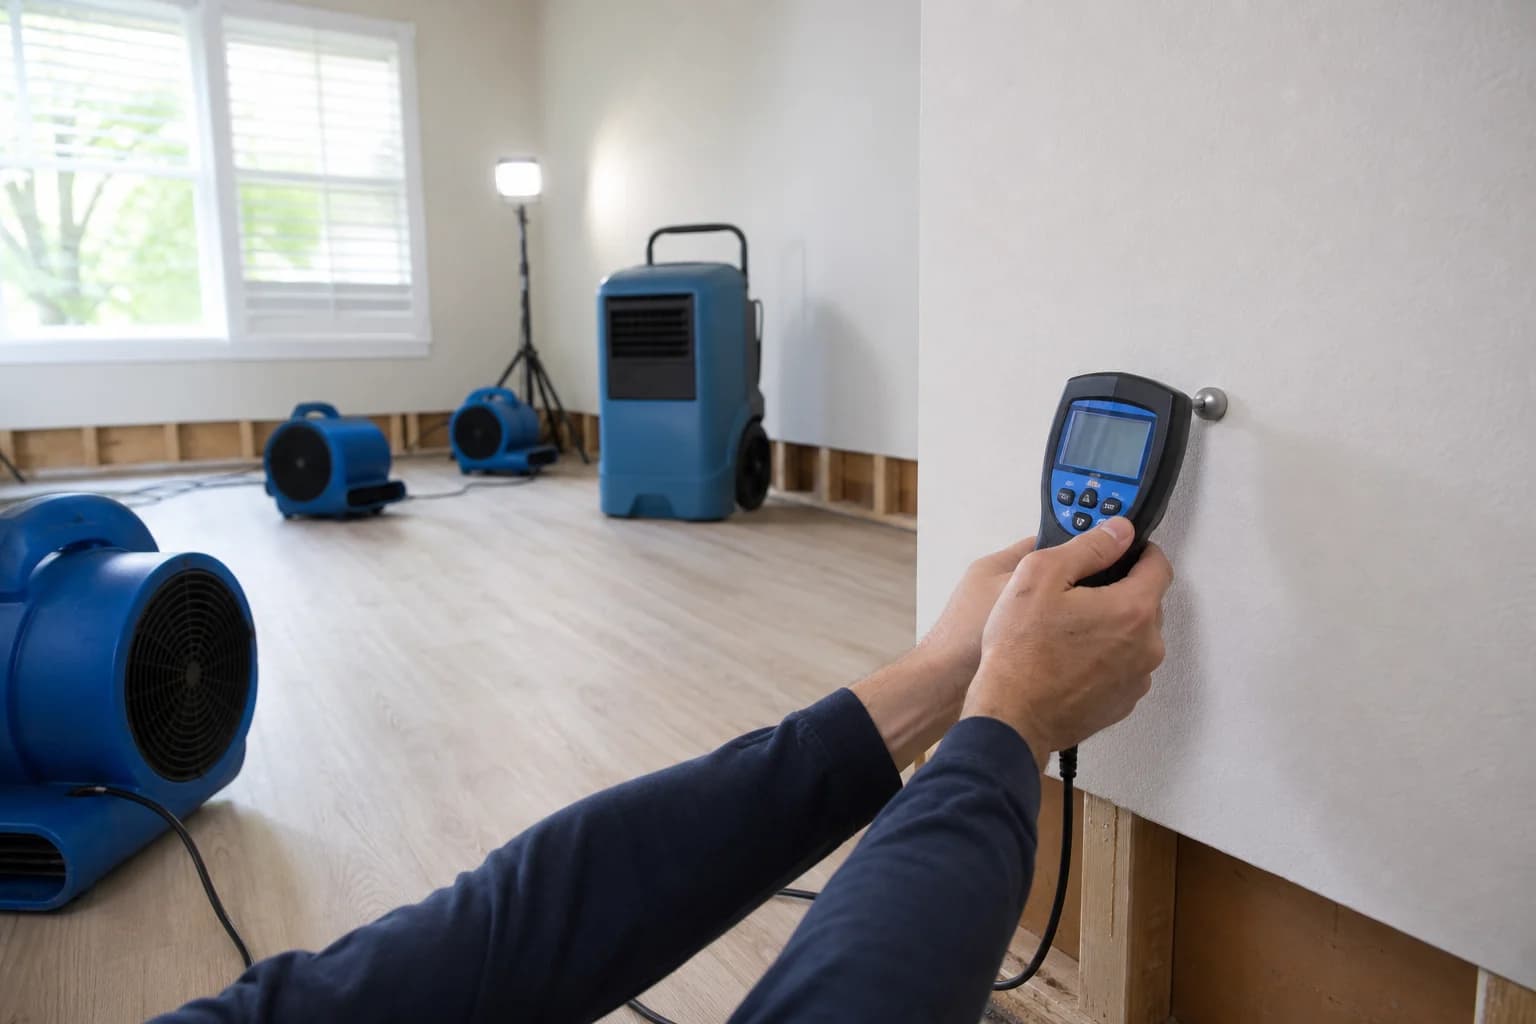
Injectidry systems are common tools used by restoration professionals. They use hoses and injection ports to deliver dry air directly into the wall cavities or ceiling spaces, accelerating drying while avoiding unnecessary demolition. This focused approach targets areas that are otherwise difficult to access. Professionals also rely on moisture meters to measure moisture levels deep within materials, allowing them to track progress and confirm when drying is complete to established standards.
- Cavity drying techniques target moisture trapped behind walls. This is crucial as trapped moisture can lead to structural damage if not properly addressed.
- Injectidry systems force air into cavities to expedite drying. This system uses hoses and injectors to deliver dry air exactly where it's needed, ensuring thorough drying.
- Pros use moisture meters to verify complete drying. These meters provide precise readings of moisture levels, ensuring that no moisture is left behind.
These drying methods are more effective than surface drying alone and help minimize demolition costs. Professionals are trained to adjust equipment settings based on the materials and extent of water damage. Their experience ensures drying is thorough and reduces the risk of mold growth or structural issues developing later.
When drywall comes out instead
In cases where walls have absorbed too much water or are contaminated, professionals may need to remove drywall. This is common with Category 3 water damage, which involves contaminated or black water. Removal is necessary to properly sanitize and dry the underlying structure, preventing health risks and further damage. Contaminated water requires careful handling to avoid spreading contaminants during cleanup.
Drywall removal allows professionals to access insulation and framing that may also be wet. Wet insulation often needs replacement, as it retains moisture and reduces drying efficiency. Planning for these potential costs helps homeowners prepare financially for restoration projects that involve demolition and rebuild. Use a current itemized estimate because source, contamination, affected materials, drying time, and repairs can change the total.
Verifying dry: meters, not guesses
Proper verification of dryness requires more than a simple touch test. Professionals use moisture meters to ensure that walls meet a dry standard. This technology provides accurate readings, ensuring that no moisture remains to cause future problems. Moisture meters can detect levels of moisture deep within materials, which is crucial for complete drying. This precise measurement helps determine if additional drying time or methods are needed.
Homeowners should rely on these readings rather than assuming walls are dry based on appearance or feel. This step is crucial for long-term structural integrity and risk reduction. Relying on professional assessments ensures that all moisture has been successfully removed, reducing the risk of mold growth or structural issues. This verification process provides peace of mind, knowing that the home is thoroughly dry and safe.
Insurance coverage for water damage depends on the cause and the specific policy. Sudden and accidental water damage is often covered, while gradual leaks may not be. Flood damage from rising water is typically excluded from standard policies and requires separate flood insurance. Understanding these factors helps homeowners plan financially for mitigation and reconstruction costs.
Professional Water Restoration Services
Connect with Local Pros
Need help drying out your walls? Connect with independent restoration professionals in your area for expert assistance.
Call (833) 968-0848Frequently asked questions
How quickly should I act after discovering a water leak?
What are the costs associated with water damage restoration?
Is water damage covered by homeowners insurance?
Sources reviewed (2)
- U.S. EPA — Mold Course Chapter 2 (moisture control): Wet building materials should be dried within 24–48 hours to avoid mold growth.
- U.S. EPA - Flooded Home: EPA guidance on safety, cleanup, moisture control, and drying after a home is flooded.