Skip to content
Water Restoration Pros

Water Damage Service

Moisture Detection

The water you can see is rarely the whole story. Most of the real risk after a leak is the moisture hiding behind walls, under floors, and inside cavities where it is easy to miss. Moisture detection uses moisture meters and thermal imaging to find that hidden water and confirm materials are actually dry. Water Restoration Pros helps property owners connect with moisture detection help.

Service overview

Moisture detection help that locates hidden water with meters and thermal imaging and confirms materials are dry rather than guessing.

Recognize the problem

Does this situation call for moisture detection?

Start with what you can safely observe. The source, the type of water, and the materials affected determine the response after an on-site assessment.

What you may notice

You had a leak and want to know how far the water actually traveled

A surface feels dry but you suspect moisture is trapped behind or beneath it

There is a musty smell with no obvious wet spot

You need to confirm materials are dry before repairs or new flooring go in

You want to catch hidden moisture before it turns into mold

How it commonly starts

Water that wicked behind walls and into cavities after a leak

Moisture trapped under flooring and in the subfloor

Slow or hidden leaks that never showed an obvious puddle

Water that traveled along framing far from where it started

Incomplete drying that left moisture deep in materials

Why timing changes the outcome

Hidden moisture is the real risk, not the water you already mopped up.

Materials can feel dry on the surface while staying wet inside. Trapped moisture is exactly what lets mold develop out of sight.

Meters and imaging confirm dryness instead of guessing by feel.

In-depth guidance

What to know about moisture detection

The tools: moisture meters and thermal imaging

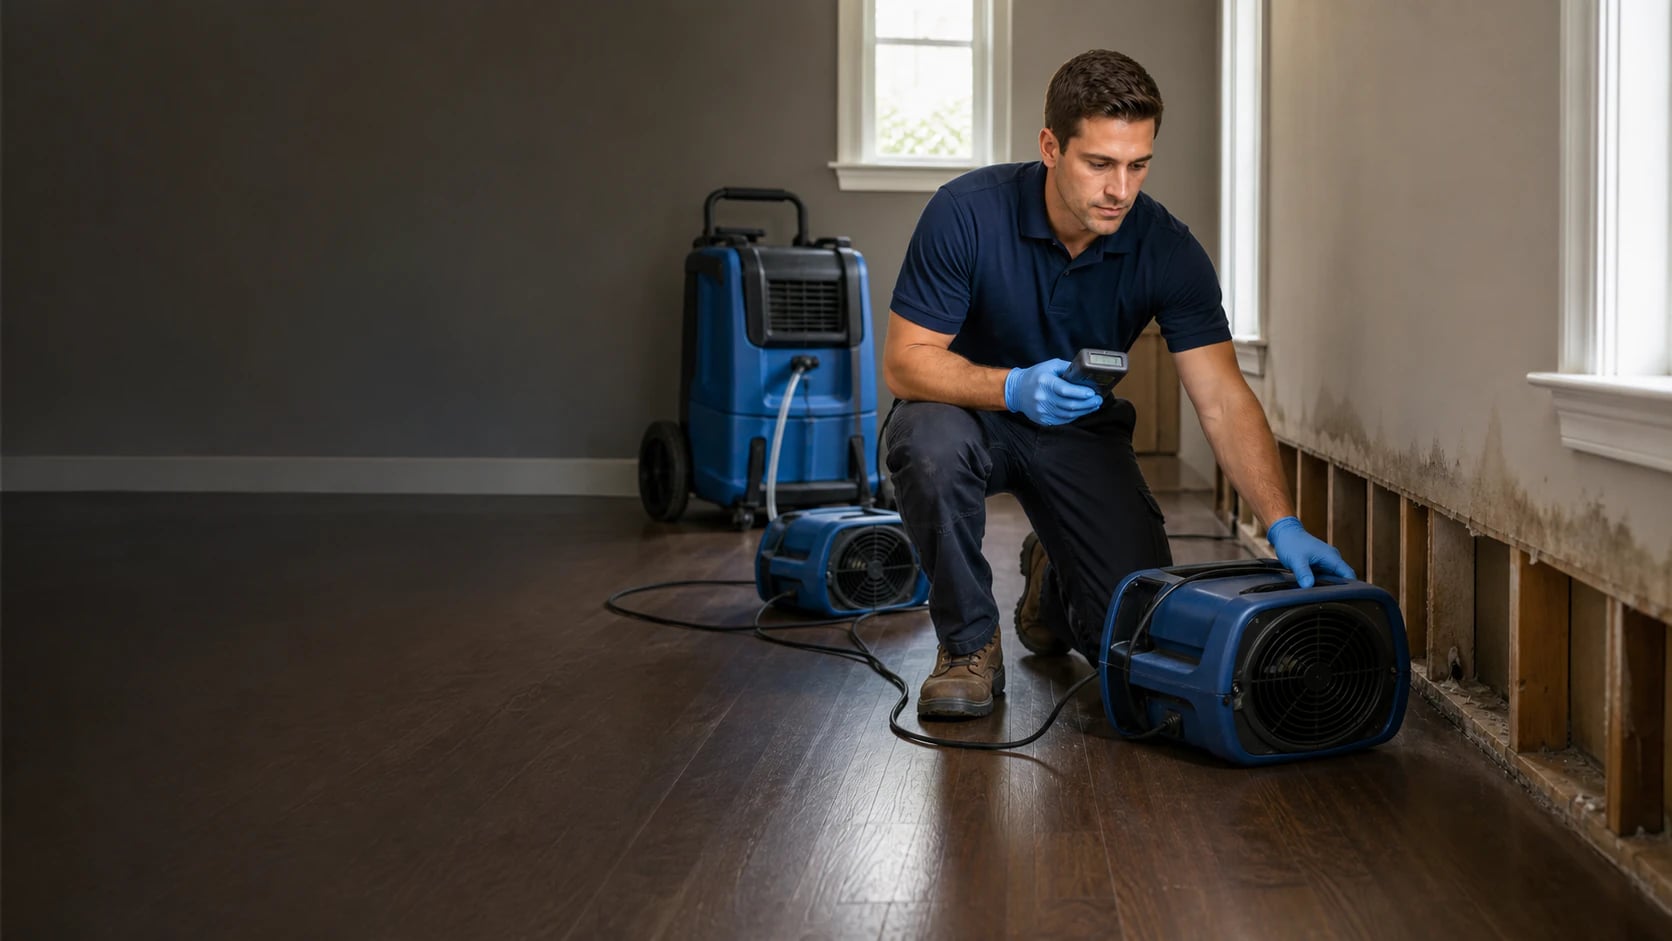
Two kinds of tools do most of the work in finding hidden water, and they answer different questions. Thermal imaging cameras read surface temperature, and because evaporating moisture tends to make a wet area cooler than the dry material around it, they reveal patterns on a wall or floor that hint at water behind or beneath the surface. Thermal imaging is fast and covers a lot of area, but it points to where to look rather than proving moisture is there, since other things can also show up as a temperature difference.

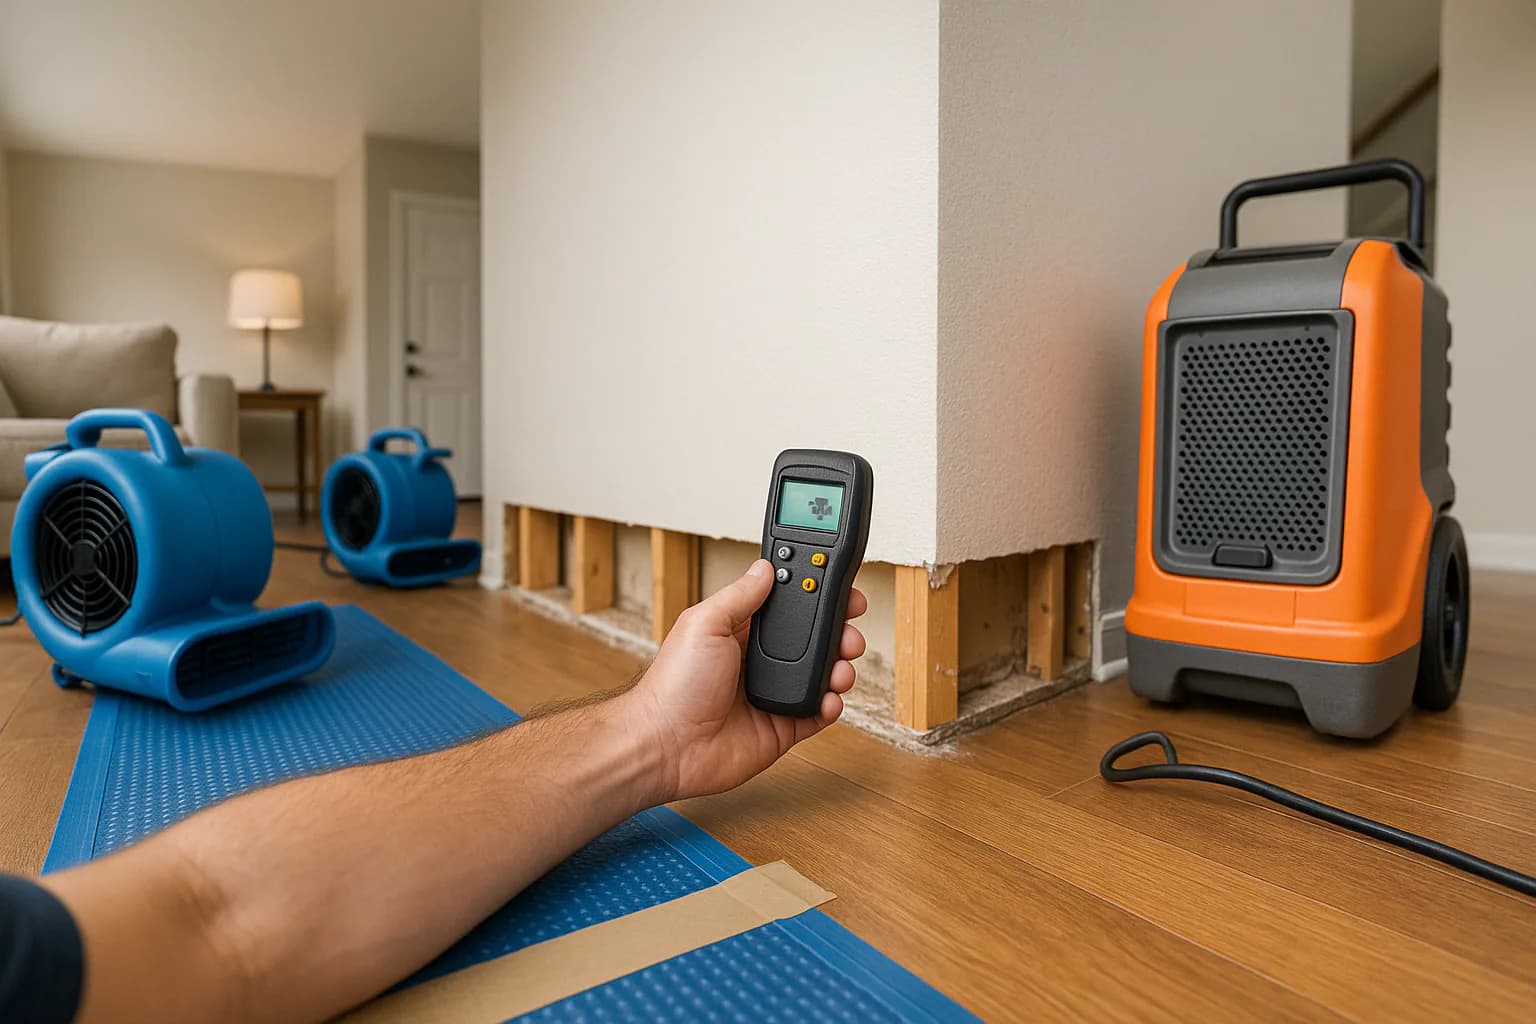
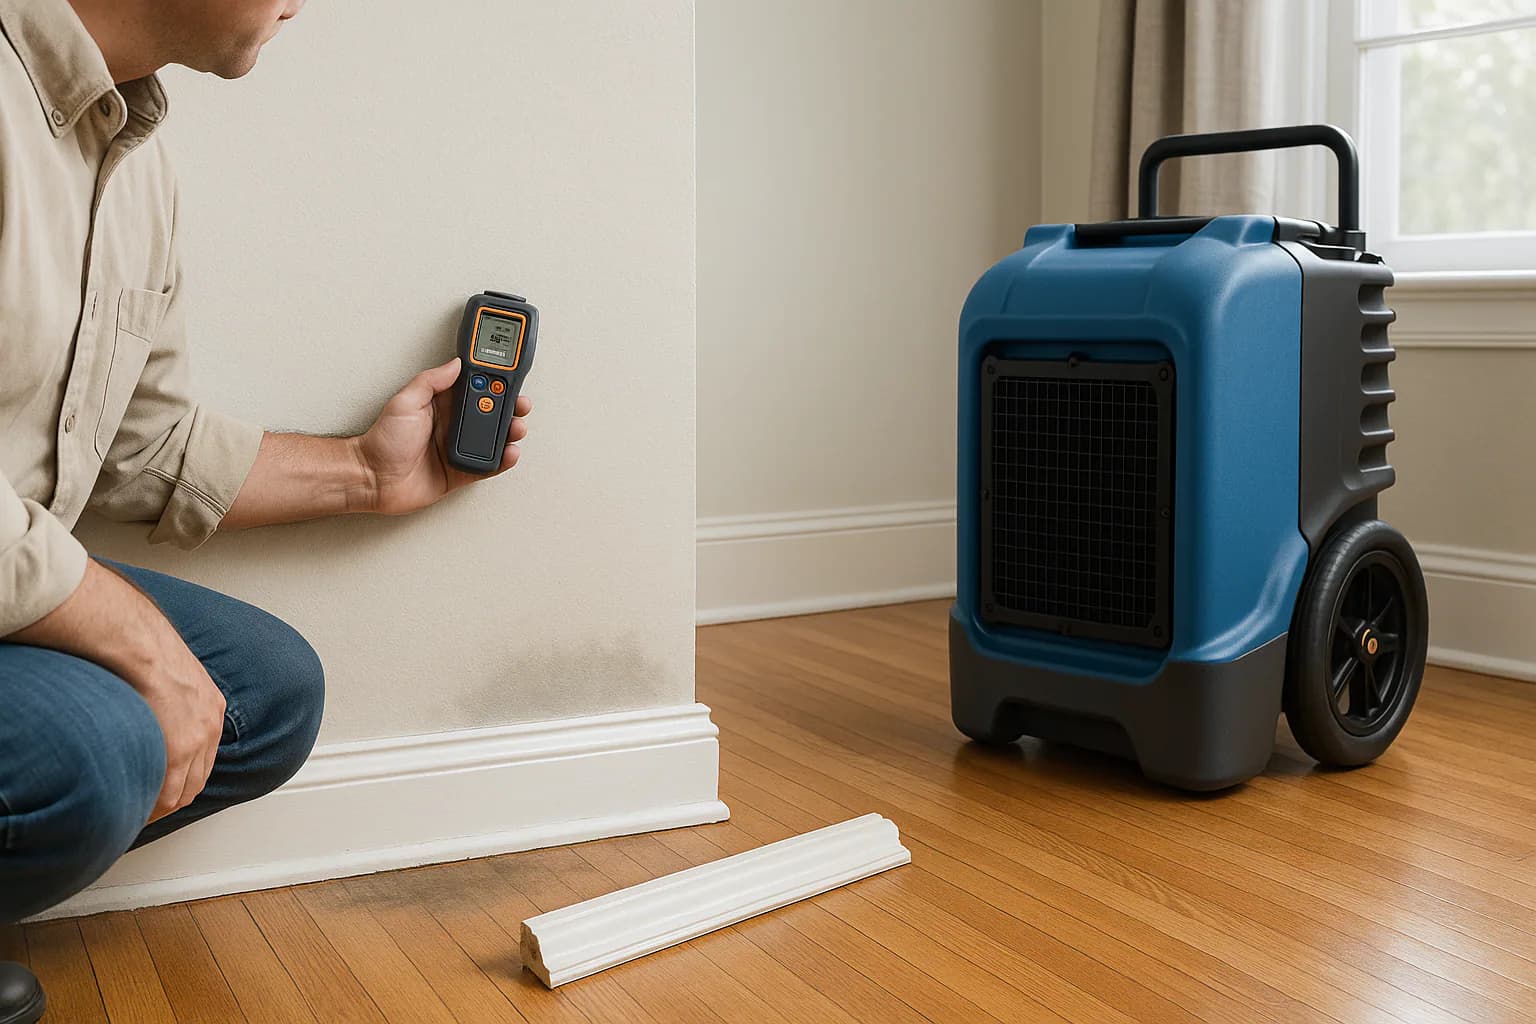
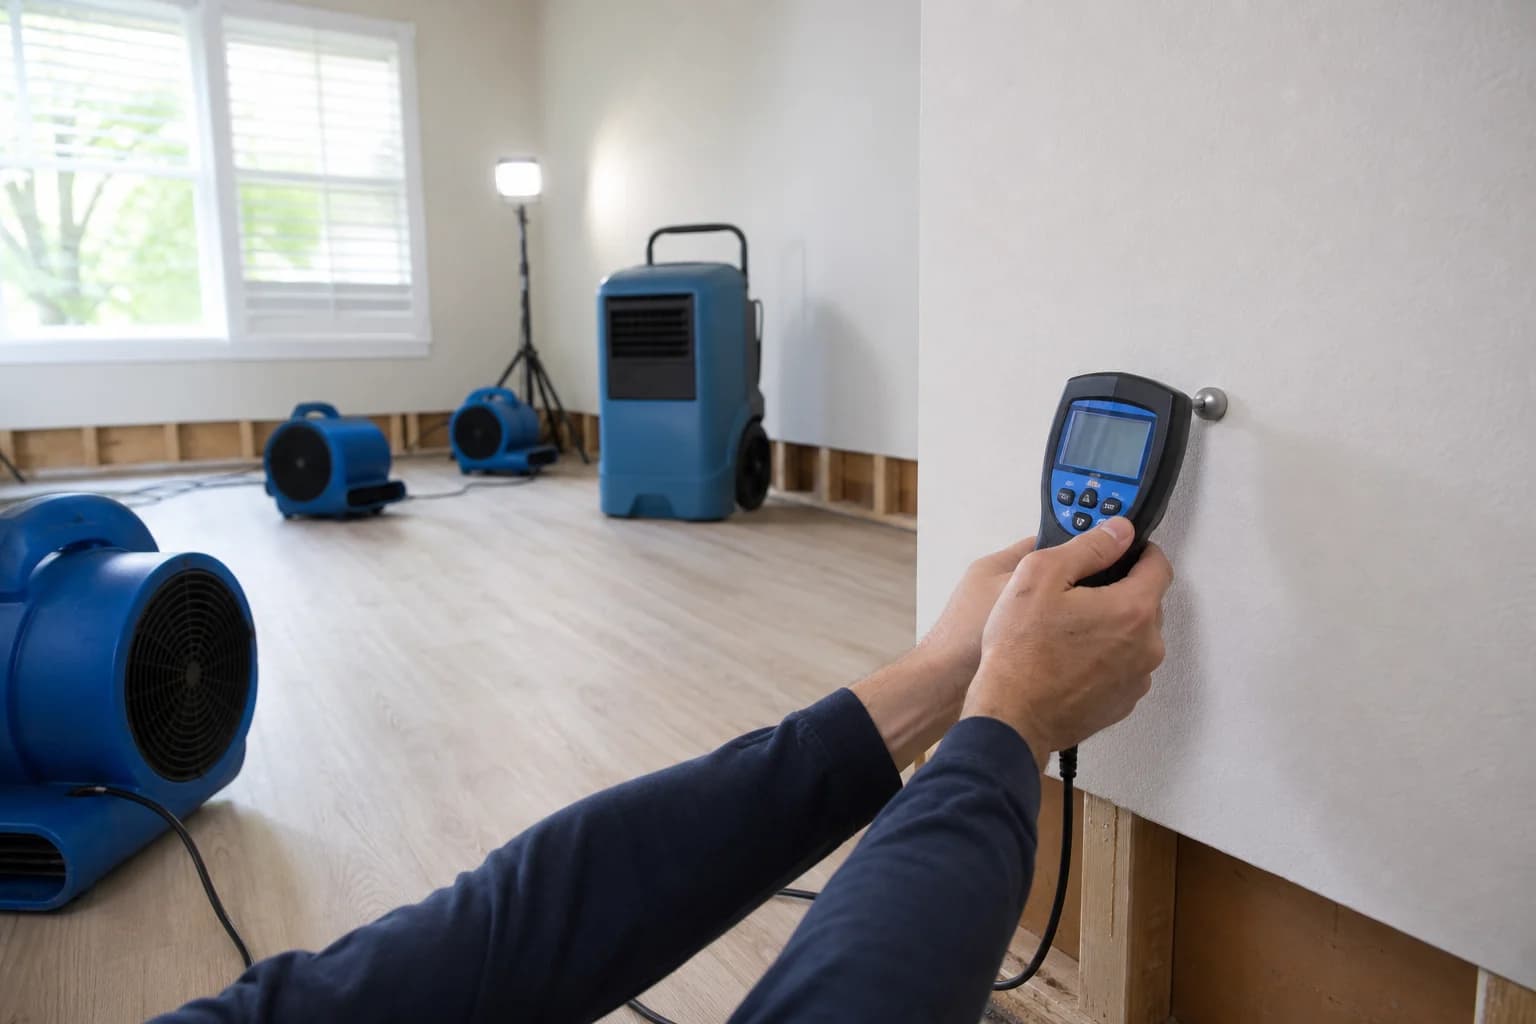
Moisture meters confirm what the camera suggests. A pin meter uses two probes pressed into a material to read the moisture inside it, while a pinless meter reads through the surface without leaving marks. Together the tools form a workflow: thermal imaging scans broadly and flags suspect areas, then a moisture meter takes a direct reading to confirm how wet the material actually is and how far the moisture extends. That pairing is what turns a hunch into a mapped, measurable picture of the damage.

Why hidden moisture is the real risk

The danger after a leak is rarely the puddle that got mopped up, it is the water that traveled out of sight and stayed there. Water follows framing and gravity into wall cavities, under flooring, and through insulation, often surfacing rooms away from where it started. Surfaces dry first and feel reassuringly dry, while the material behind and below them stays saturated, so a leak that looks handled can leave a hidden moisture problem behind.

Left undetected, that trapped moisture is what does the slow damage. Given enough time it warps and weakens framing and subfloor, lifts and delaminates flooring, and creates the persistent damp that allows mold to develop inside walls and cavities where no one can see it forming. Catching it early changes the outcome entirely, because drying a known wet area is straightforward while discovering it months later, after the damage and mold have set in, is a much larger job. Finding the moisture, and confirming it is gone, is the whole point of detection.

Professional response

How the work moves from damage to a dry property

The exact scope changes with the water source and affected materials, but a measured restoration response generally moves through three phases.

Assess and stabilize

Map the suspect areas

Trace where the water came from and where it likely traveled so the inspection covers the full path.

Scan with thermal imaging

Use thermal imaging to spot temperature differences that point to moisture behind walls and under floors.

Remove and dry

Confirm with moisture meters

Take moisture meter readings to confirm how wet materials actually are rather than guessing by touch.

Find the hidden moisture

Locate trapped water in cavities, subfloor, and materials that looked dry on the surface.

Verify and recover

Verify the dry target

Use the readings to confirm materials are genuinely dry before drying ends or repairs begin.

What to expect from the first visit

Map the suspect areas

Trace where the water came from and where it likely traveled so the inspection covers the full path.

Scan with thermal imaging

Use thermal imaging to spot temperature differences that point to moisture behind walls and under floors.

Confirm with moisture meters

Take moisture meter readings to confirm how wet materials actually are rather than guessing by touch.

Find the hidden moisture

Locate trapped water in cavities, subfloor, and materials that looked dry on the surface.

Questions to ask before approving the scope

How will the assessment document visible indicators and source path?

The answer should be specific to the property and reflected in the written scope.

Which conditions determine whether moisture detection is the right service path?

The answer should be specific to the property and reflected in the written scope.

What work, specialist responsibilities, measurements, and completion records will be included in writing?

The answer should be specific to the property and reflected in the written scope.

Before help arrives

What you can do now

Only take steps you can complete safely. Leave the area and wait for qualified help if there is an electrical, structural, or contamination risk.

Note where the water came from and which rooms it may have reached.

Avoid sealing, painting, or covering areas you suspect are still wet.

Hold off on new flooring or repairs until materials are confirmed dry.

Watch for musty odors, stains, or warping as clues to hidden moisture.

Call to connect with moisture detection help.

These are general precautions for moisture detection; conditions at the property determine what is safe and appropriate.

Frequently asked questions

What is moisture detection?
Moisture detection is the process of finding hidden water in a property using tools like moisture meters and thermal imaging. It locates moisture behind walls, under floors, and in cavities, and confirms whether materials are actually dry.
Why does hidden moisture matter if the surface is dry?
Surfaces dry first while moisture stays trapped inside walls, under flooring, and in materials. That hidden moisture is what leads to odor, warping, and mold, so finding it is the point of moisture detection.
How do you find moisture behind a wall?
Thermal imaging highlights temperature differences that suggest moisture behind surfaces, and moisture meters confirm how wet the materials actually are. Together they locate trapped water without relying on guesswork.
Does Water Restoration Pros perform the inspection?
Water Restoration Pros is a nationwide connection service. We help you understand where water may have traveled and connect with restoration professionals that service your area, who carry out the moisture inspection.
What is the difference between a thermal camera and a moisture meter?
A thermal imaging camera reads surface temperature and flags areas that may be wet, since evaporating moisture often makes a spot cooler than the material around it. It scans large areas quickly but only suggests where to look. A moisture meter then takes a direct reading of how wet a material actually is, confirming what the camera flagged. Pros use them together, imaging to find suspect areas and a meter to verify.
If the wall feels dry, why would there still be a moisture problem?
Surfaces dry first while moisture stays trapped inside the wall cavity, under flooring, and in insulation, so a wall can feel dry while the material behind it is still wet. That hidden moisture is what warps framing, lifts flooring, and feeds mold out of sight over time, which is why detection relies on readings rather than how a surface feels to the touch.
Technical and safety sources (5)

These sources support restoration, safety, moisture, cleanup, and scope guidance. They do not serve as numeric pricing provenance.

Need help with moisture detection?

Call Water Restoration Pros to connect with moisture detection help in your area.

Call (833) 968-0848 · No-obligation · Availability varies by area

(833) 968-0848Check