When water damages your home, the recovery follows a fairly consistent process, even though the details change with every situation. Knowing the general sequence helps you understand what professionals are doing and why each step matters. The work moves from stopping and assessing the damage, through removing water and drying the structure, and finally to cleaning and repairs.
An Overview of the Process
The process blends two phases: the urgent mitigation work that stops and limits the damage, and the restoration work that repairs and rebuilds afterward. Below is how a typical job unfolds from start to finish.
- 1
Inspection and assessment
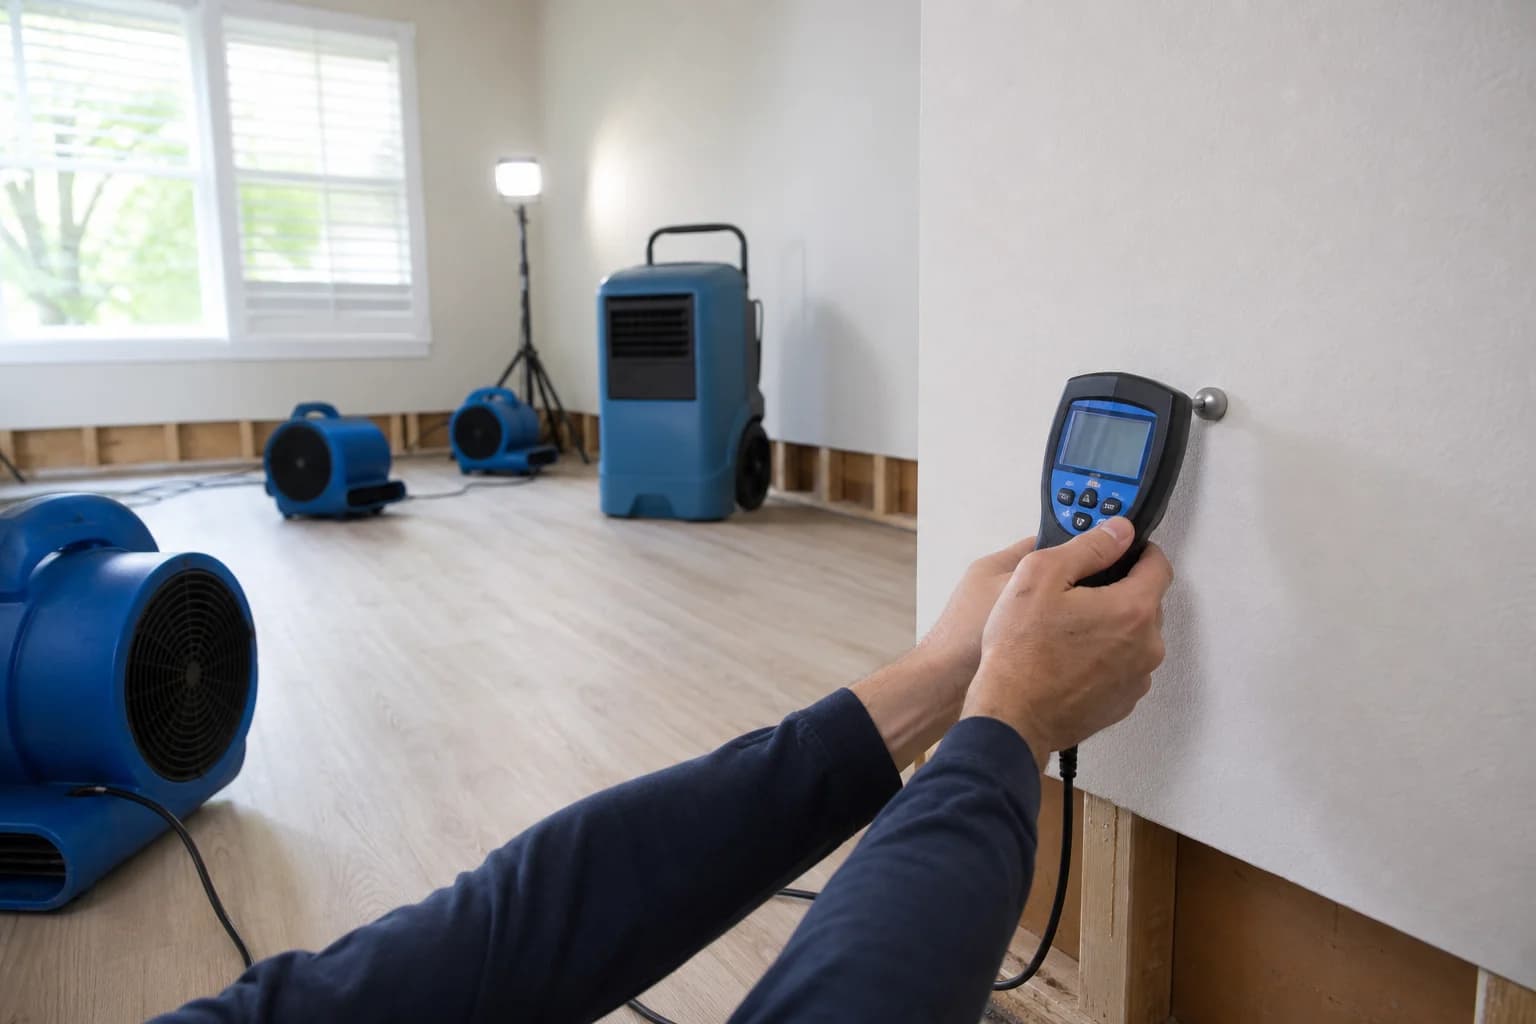
Professionals evaluate the source, the water category, and how far moisture has spread using meters and other tools to map the damage. This step is crucial as it informs the entire strategy for mitigation and restoration. Understanding whether the water is clean, gray, or contaminated influences the methods and urgency of the next steps.
- 2
Water removal and extraction
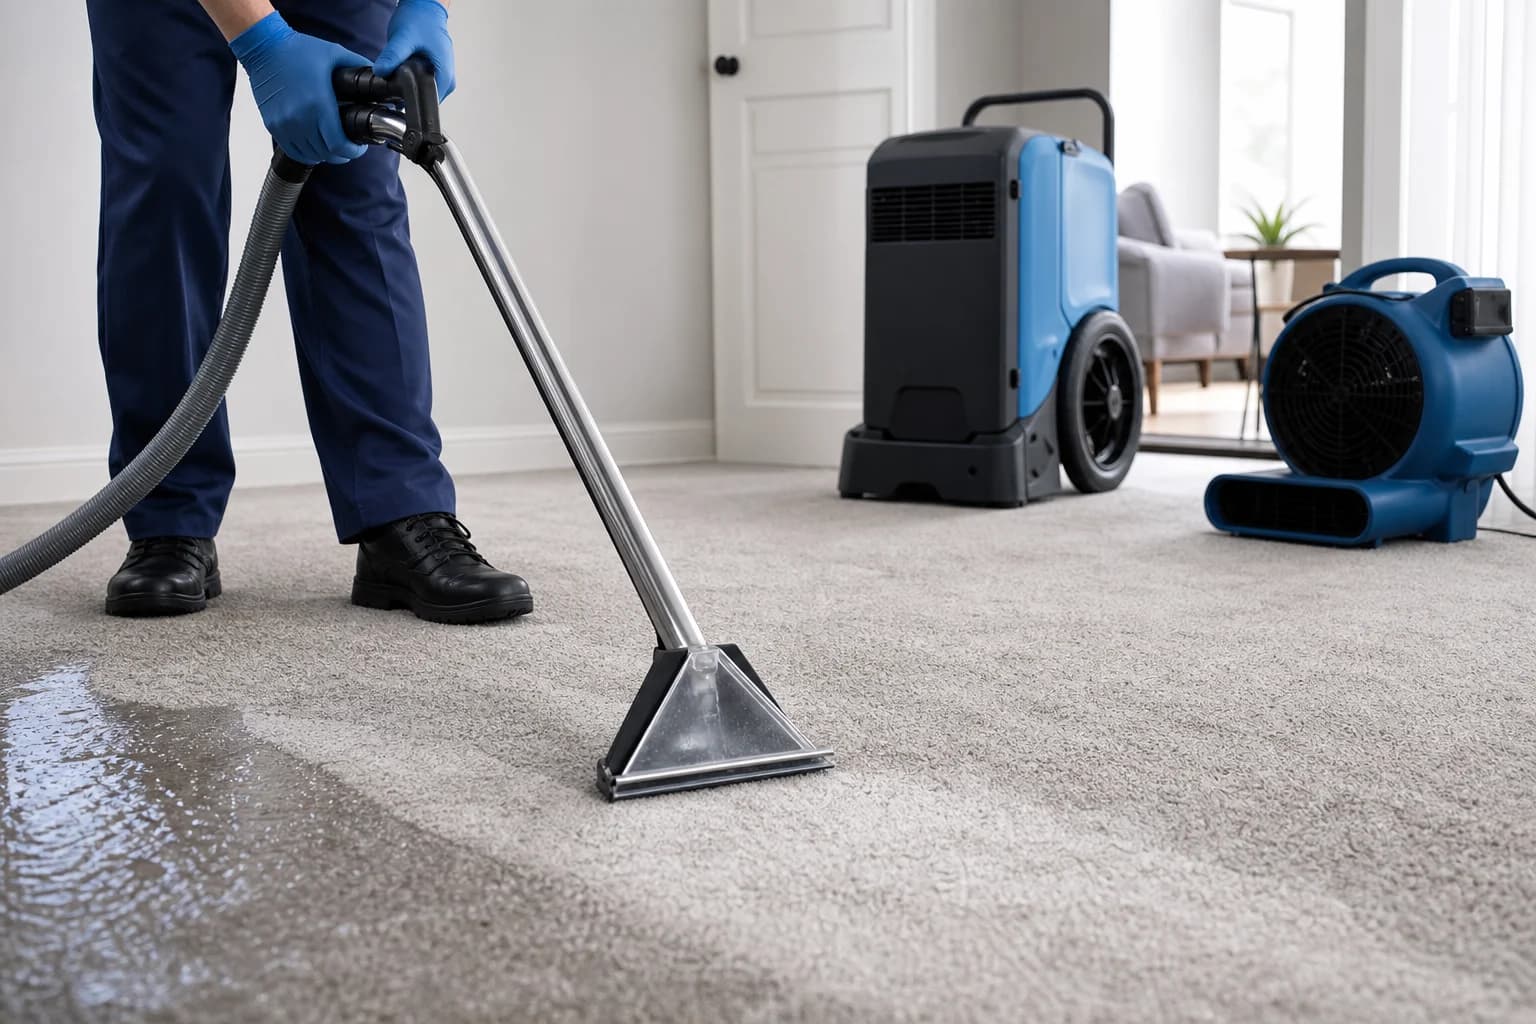
Standing water is pumped out or vacuumed away, and extraction equipment pulls water from carpet, padding, and other saturated materials. Quick removal is vital as it reduces the risk of further damage and mold growth. The pros use powerful extraction tools to ensure as much water as possible is removed swiftly.
- 3
Removing unsalvageable materials
Materials that cannot be dried or are contaminated, such as some drywall, insulation, and flooring, are removed and disposed of properly. This step reduces the risk of later moisture problems such as mold growth or structural instability and supports a controlled environment for rebuilding.
- 4
Drying and dehumidification
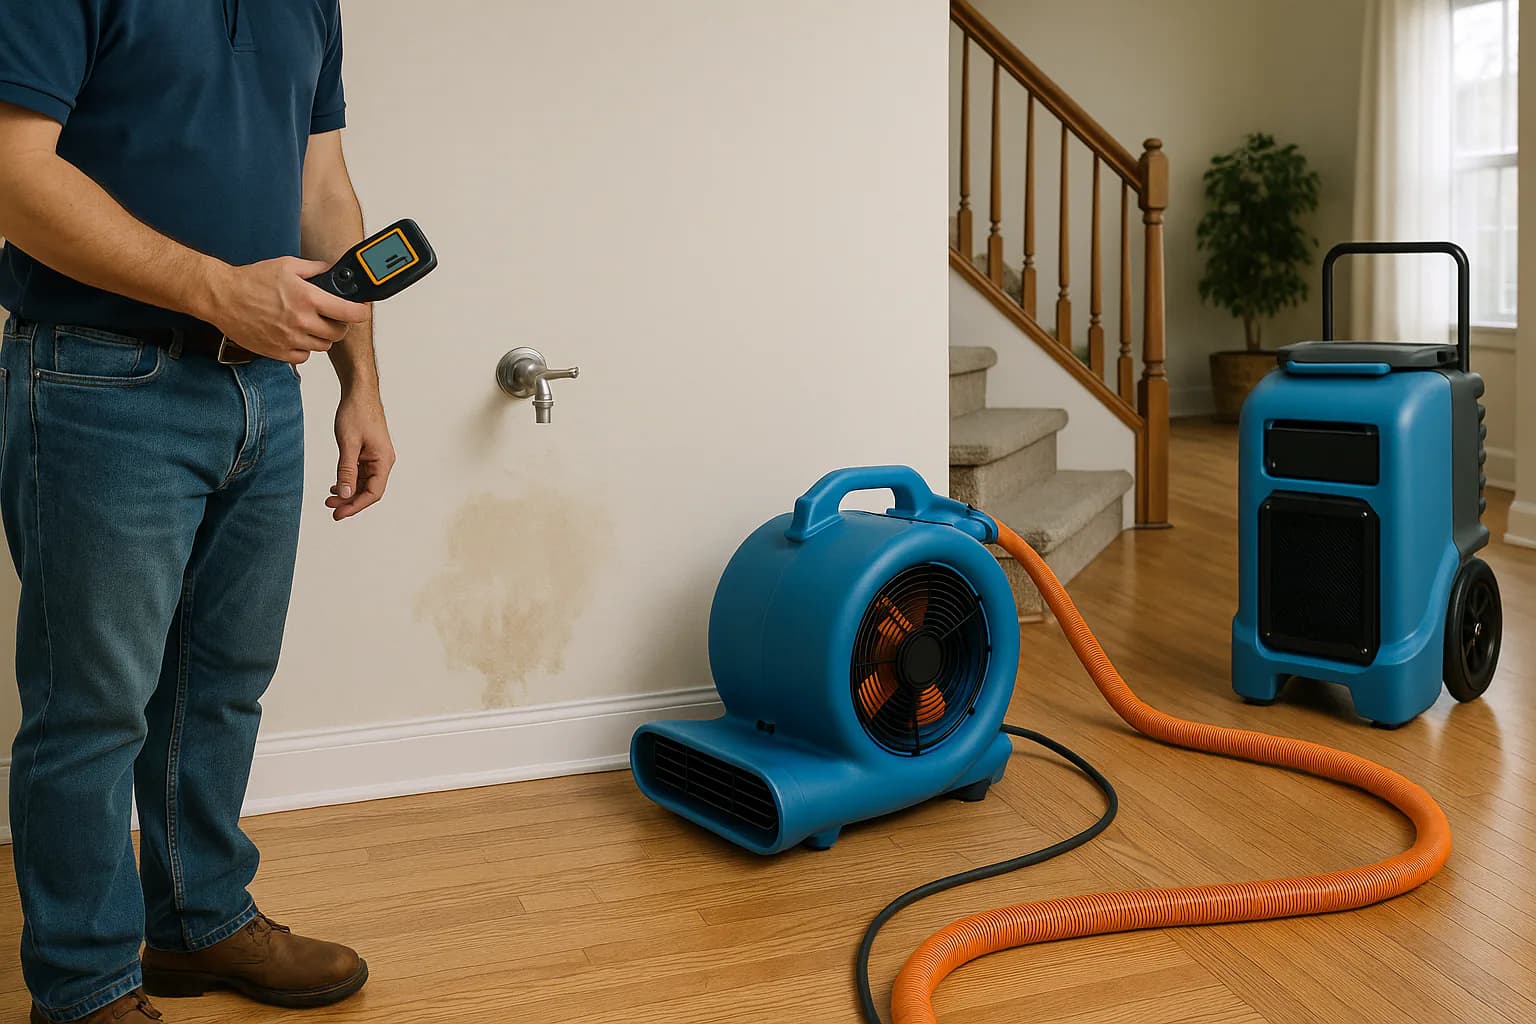
Air movers and dehumidifiers are positioned to draw moisture out of the structure and the surrounding air. The equipment is strategically placed to maximize airflow and dehumidification efficiency, ensuring thorough drying. This phase might take several days depending on the moisture level and material types.
- 5
Moisture monitoring
Readings are tracked over several days to confirm materials reach a proper dry standard, and equipment is adjusted as needed. This ensures that the drying process is complete and reduces the risk of later moisture problems related to hidden moisture, such as mold or structural damage.
- 6
Cleaning and sanitation
Affected surfaces and salvageable belongings are cleaned and sanitized, which is especially important when the water was contaminated. Proper sanitation prevents health hazards and prepares the space for safe use once restored.
- 7
Repairs and reconstruction
Removed materials are replaced and finishes are restored, returning the space toward its pre-loss condition. This phase concludes the restoration, making the space functional and aesthetically pleasing again. Use a current itemized estimate because source, contamination, affected materials, drying time, and repairs can change the total.
The Role of Moisture Mapping
Moisture mapping is a critical component of the assessment phase. Restoration professionals use advanced tools like moisture meters and thermal imaging cameras to detect moisture levels inside walls, floors, and ceilings. This step allows them to pinpoint areas that need special attention, ensuring no moisture pockets are overlooked. Accurate mapping helps in formulating an effective mitigation strategy and prevents future mold growth.
The Importance of Professional Equipment
The equipment used by restoration professionals is designed for efficiency and effectiveness. High-capacity pumps and vacuums are employed to remove large volumes of water quickly. Air movers enhance airflow across wet surfaces, speeding up drying times. Dehumidifiers pull moisture from the air, crucial for reducing humidity to safe levels. Each piece of equipment serves a specific purpose in the process, ensuring thorough water extraction and drying.
Understanding Moisture Targets
Moisture targets are set based on the type of materials affected and their natural moisture content under normal conditions. Professionals use moisture meters to compare current levels with these targets, ensuring that drying is truly complete. Relying on feel or appearance is unreliable, as even dry-looking materials can harbor hidden moisture. Meeting these targets is essential to avoid long-term structural problems or mold.
Decision Points for Homeowners
Throughout the restoration process, homeowners face several decision points. One major decision is whether to restore or replace damaged materials. Factors such as the extent of damage, cost, and personal preference play significant roles. Homeowners also need to decide on the level of finishes for reconstruction, which affects both cost and aesthetic outcomes. Consulting with professionals can provide clarity and help homeowners make informed decisions.
Why Drying Takes Several Days
Drying is not instant. Materials release moisture slowly, and professionals rely on meter readings rather than appearance to decide when a structure is truly dry. Rushing this step is what leaves hidden moisture behind.
Why the Steps Happen in This Order
The sequence is built on a simple logic. You assess before you act so the plan fits the damage. You remove water before you dry because drying equipment cannot handle standing water. You confirm the structure is dry before you rebuild because repairing over hidden moisture causes lingering problems. Each step sets up the next.
Documentation Helps With Insurance
Throughout the process, professionals can document the damage and the work performed. Keeping that record, along with your own photos and receipts, supports an insurance claim. Coverage decisions still rest with your insurer, so review your policy and ask about your situation.
When the Water Is Contaminated
If the water is contaminated, such as from a sewage backup or floodwater, avoid contact and keep people and pets away while trained professionals manage it with proper equipment. The overall sequence stays the same, but cleaning and sanitation take on added importance.
Related Services
Ready to Start the Process?
The sooner the process begins, the more of your home you can save. Call Water Restoration Pros to get connected with restoration professionals that service your area and can assess, dry, and restore your property.
Call (833) 968-0848Frequently asked questions
How long does the full restoration process take?
Why is moisture monitoring part of the process?
Does the restoration process include repairs?
Sources reviewed (2)
- U.S. EPA - Mold Course Chapter 2: EPA guidance to dry wet building materials within about 24 to 48 hours when possible.
- U.S. EPA - A Brief Guide to Mold, Moisture and Your Home: EPA guidance on moisture control, prompt drying, indoor humidity, and mold cleanup decisions.